
Let’s go foraging
Even though we can’t yet live on the land, we have been exploring any possible ways to interact with, observe and nurture it. It’s an opportunity to exercise some permaculture ideas and understand its rhythms and cycles. This seems like a very good approach as several different habitats can be found within these three acres, including wet woodland, river, mature beech trees, paddock and hedgerow.
One of our early aspirations has been to make wine from foraged flowers and fruit. There are numerous species of wild berry on the way but the first and obvious source was to target available elderflowers and dandelions.
As it turned out, I missed the dandelions and ended up mistakingly picking “false dandelions”, AKA “Cat’s Ear” (no moggies were harmed in the making, by the way). The name derives from the frilly parts of the pseudo dandelion which resemble the soft hairs inside a cat’s ear. The following picture of Alfie’s lug-hole demonstrates the aptness of the name… sort of.
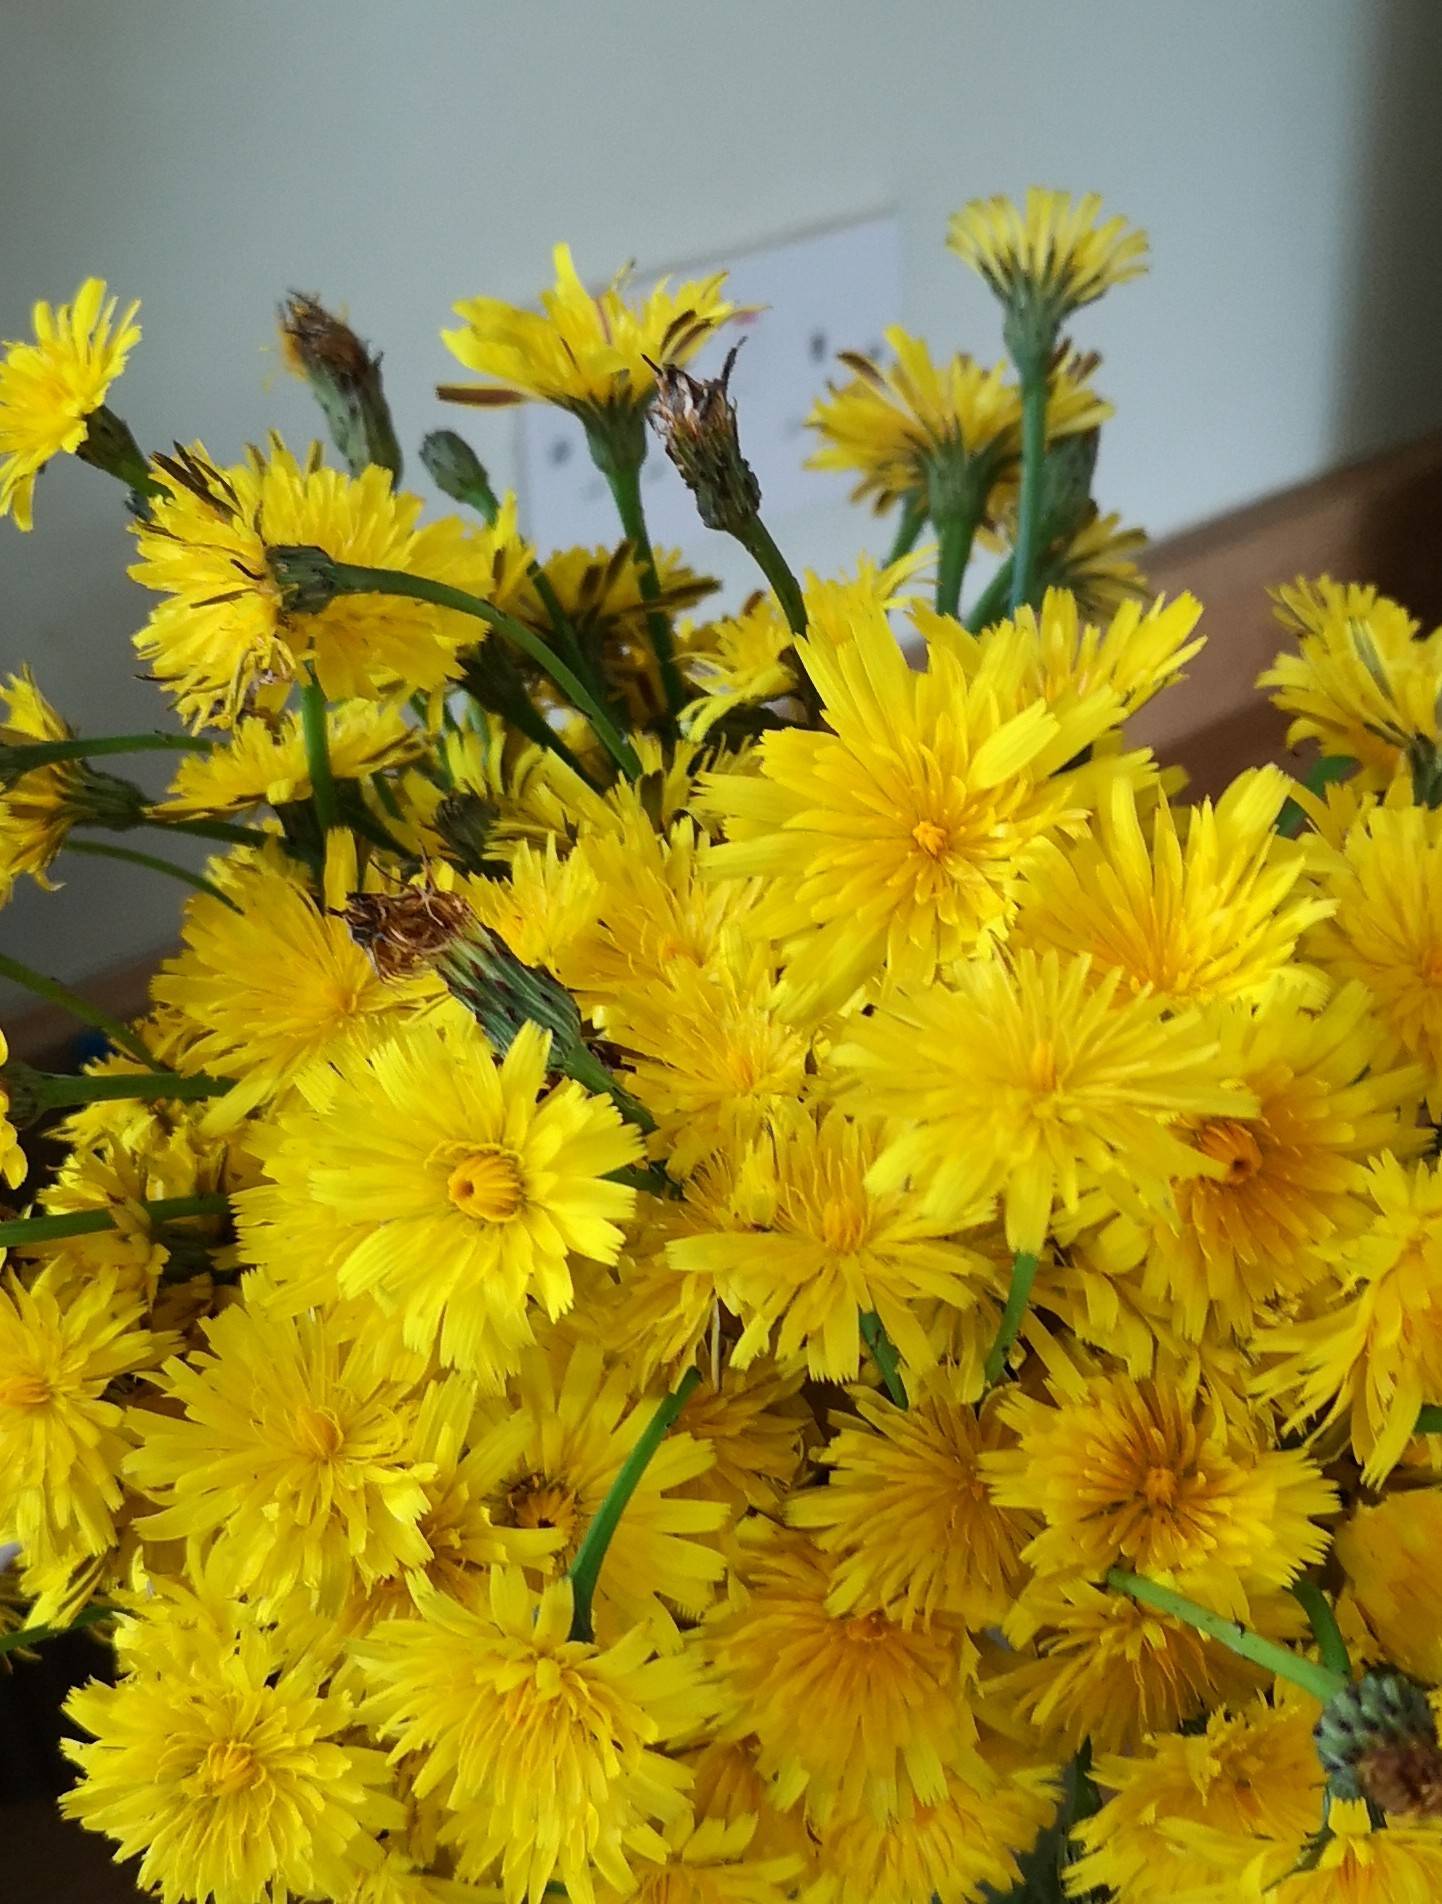
I suspect though that the botanist who first coined the name was operating with the imagination-enhancing benefits of some previously foraged fungi.
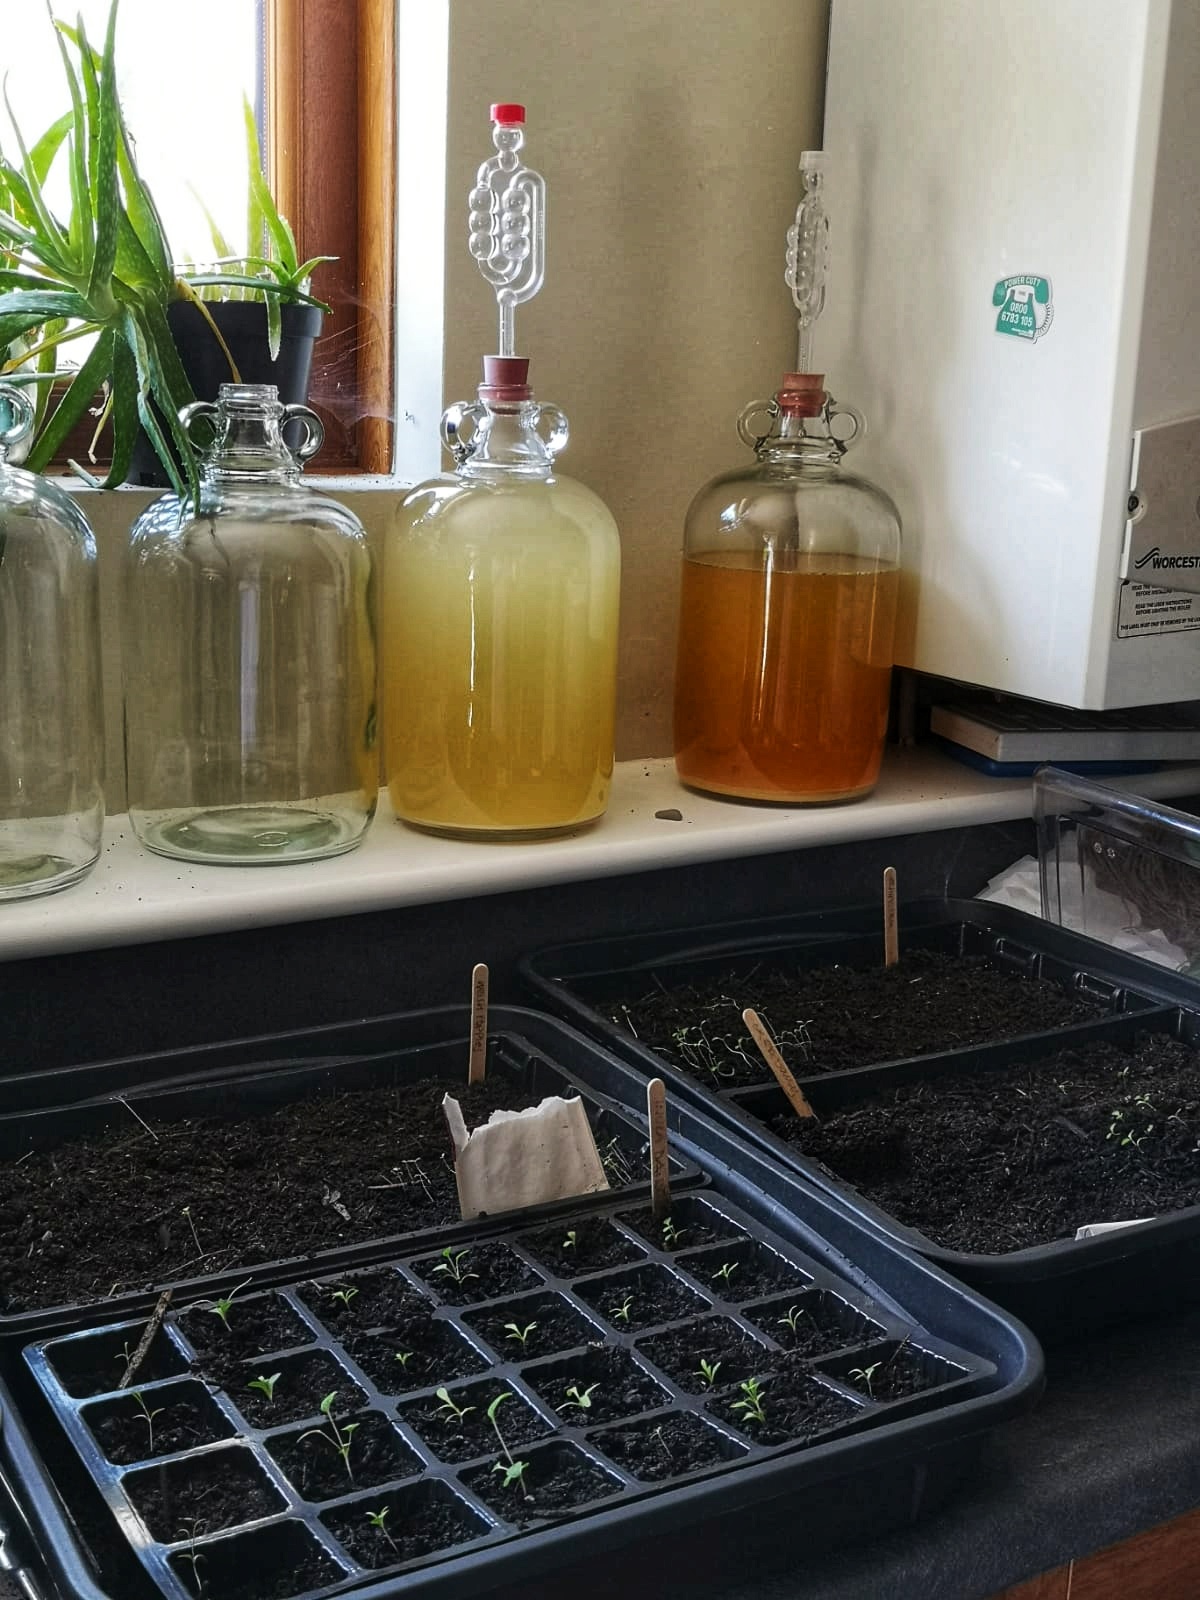
As for the wine-making part, I had little knowledge but had recently acquired a dozen demijohns and assorted out-of-date yeasts and finings from a jaded, local home-brew exponent.
How hard could it be? Pretty hard as it transpired – but this was my first time experience, plagued by my natural impetuosity and disdain for preparation and organisation. The lesson I have learned is that this is a methodical and relatively unforgiving craft, especially if the mission is to be as organic as possible and eschew using sulphite stabilisers/sanitizers. I will be delighted if my final product is drinkable, never mind anything of particular quality.
So what was my method and how has it turned out? The answer to the second question is that it’s too early to tell. The wine is in the clearing stage of secondary fermentation. It will require at least another 3 months and possibly 6 to achieve any sort of clarity and refinement. It tastes OK so far; the cat’s ear one is quite strong and still fermenting but the elderflower has settled down and will hopefully need only time to clear (it’s pretty cloudy right now). I also think it’s a touch too dry so some ‘back-sweetening’ may be needed.
Here are the “recipes” (but I use the term loosely).
Elderflower Wine
The Elder Tree (Sambucus nigra) features heavily in folklore and grows throughout the UK. It can be found in hedgerows, woods, and along roadsides.
Some believe the bark to have magical properties and has been used to create magic wands. Witches allegedly merged themselves into the wood to impart these properties.

The elder flower has delicate creamy white petals with pinpricks of yellow at its centre and emits a sweet, flowery scent. This delicate perfume can be tasted in the champagne or wine, giving it a light, crisp flavour. It’s a good idea to smell the flower heads as you pick them. Once past its best, it can smell like cat pee. Avoid these, as the smell will transfer into the taste of the champagne. I don’t know about you but I try to rule cat pee flavoured wine out of my tasting schedule. Cat’s ear will suffice.

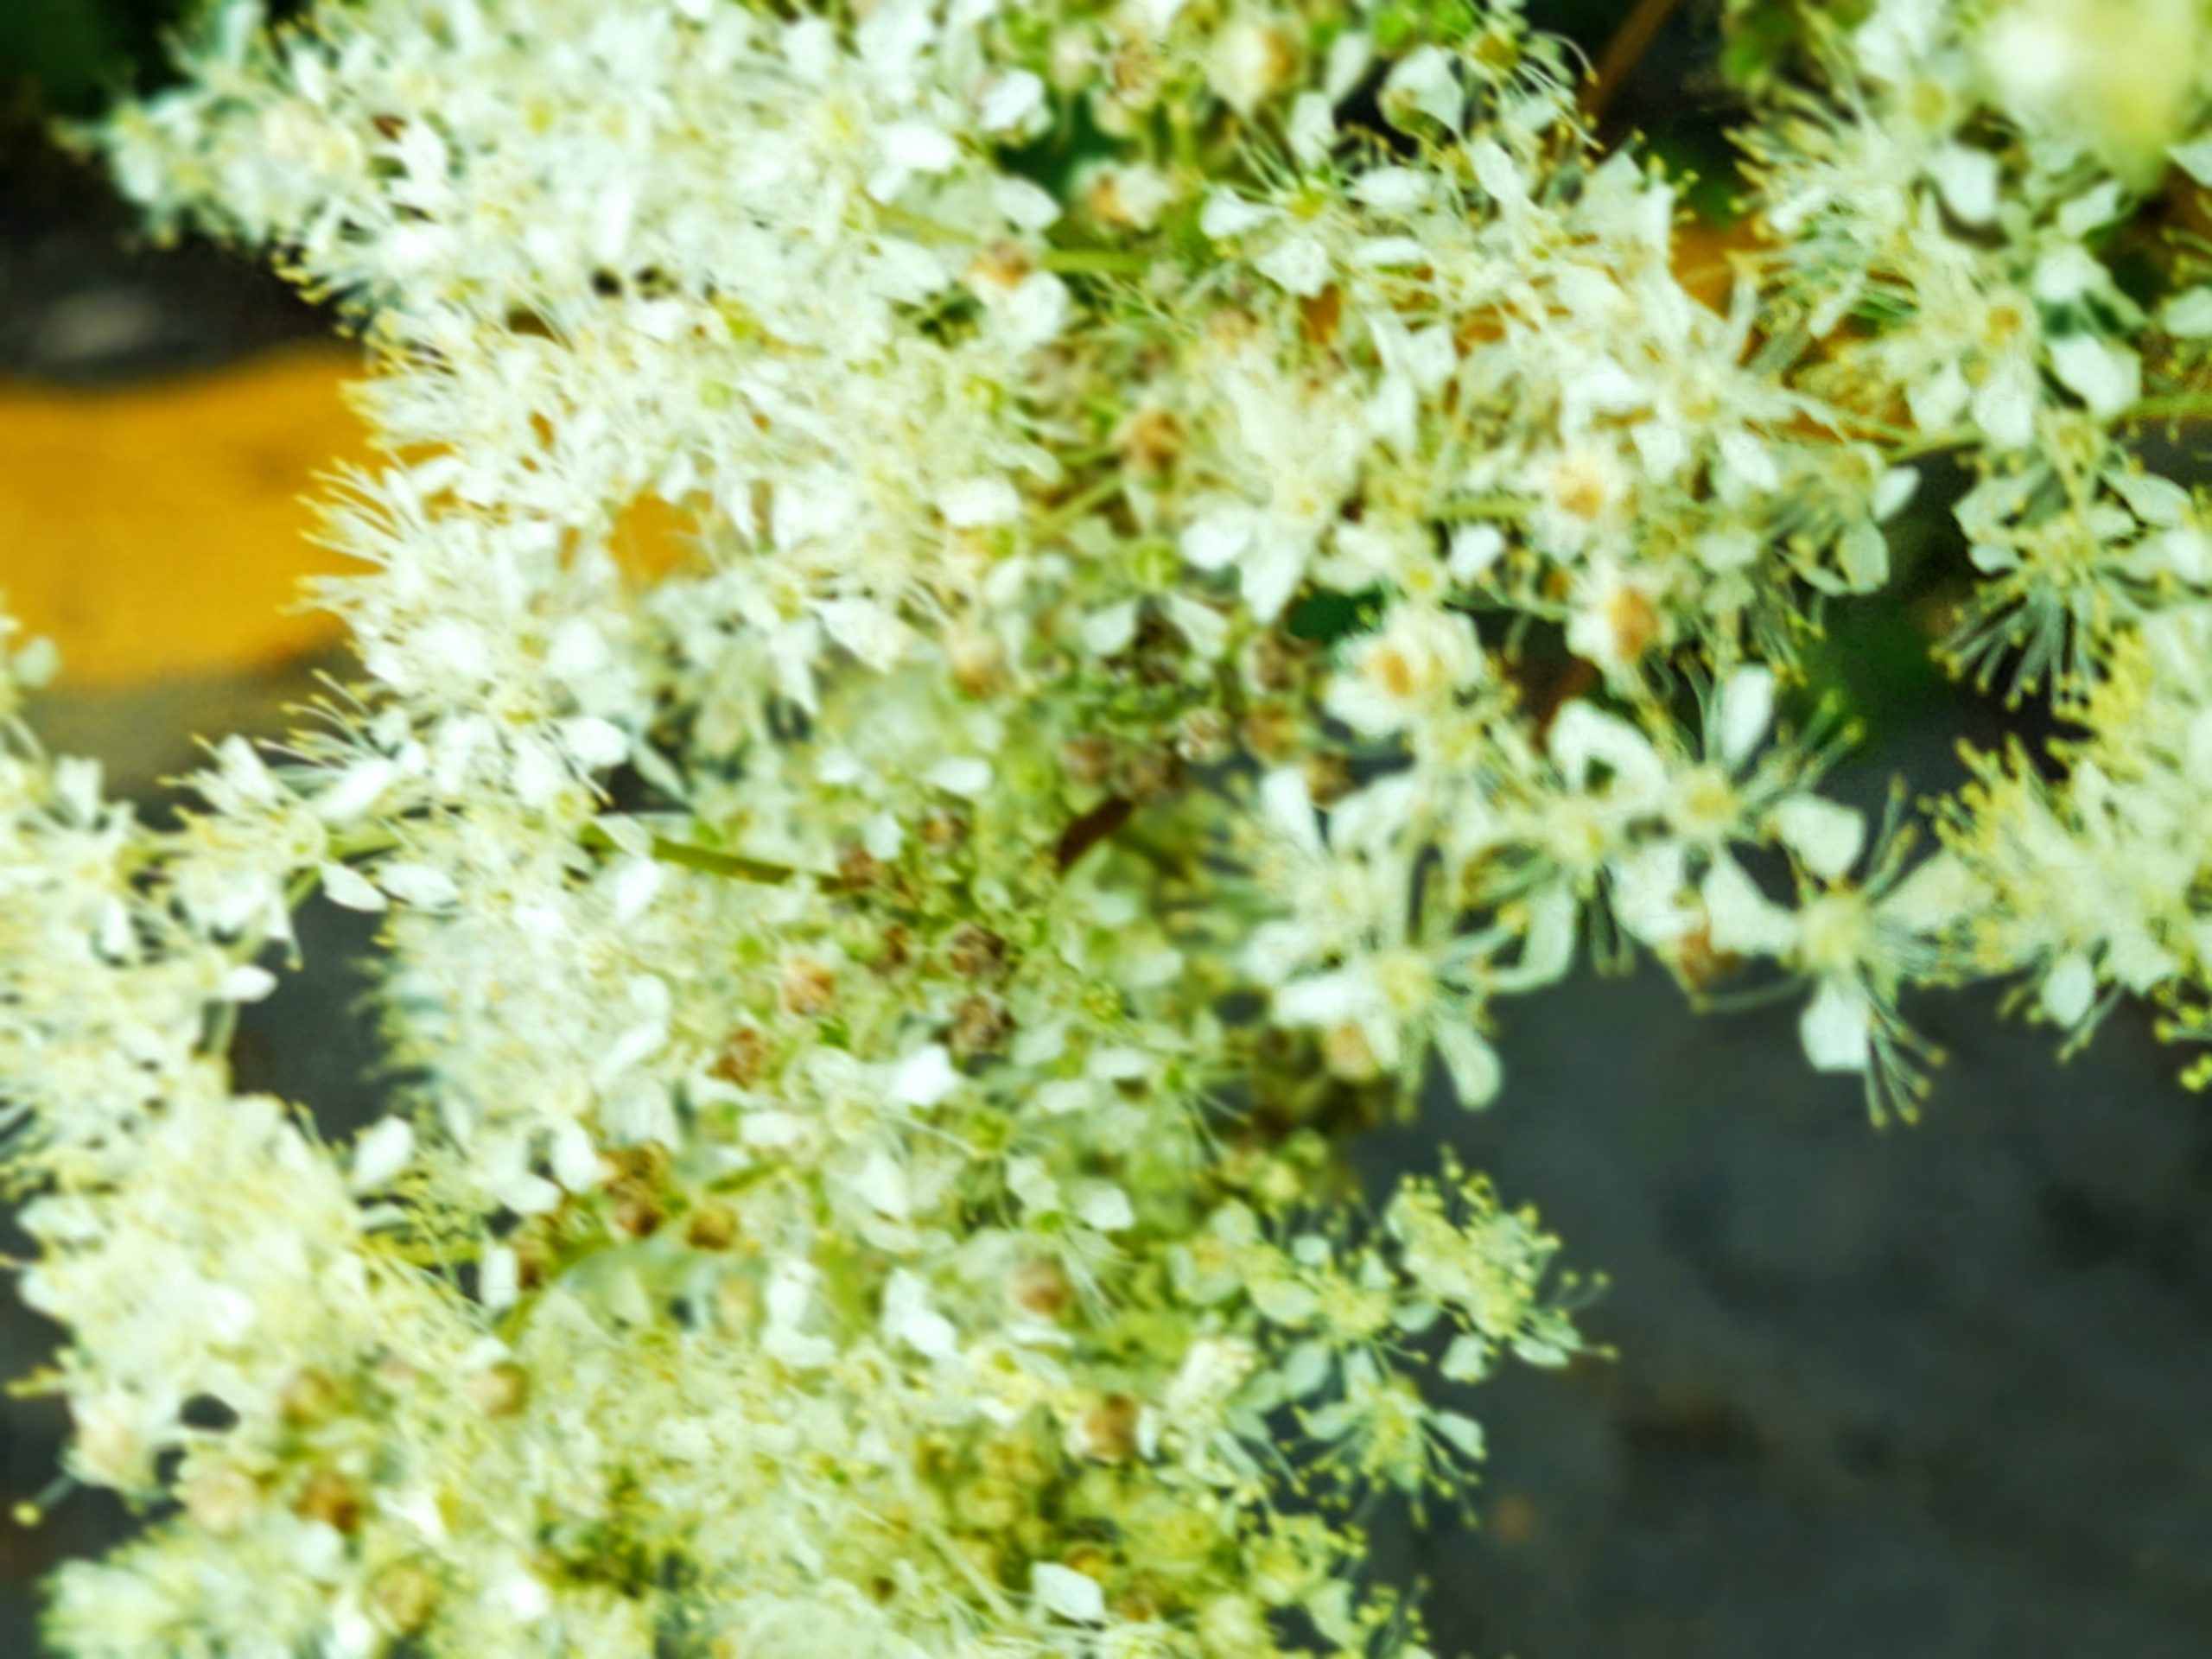
Elderflowers form in ‘sprays’. When foraging, pick the entire head. You’ll also find it’s an excellent idea to forage in the morning before insects descend on the nectar for their lunch! Never take all the flowers from a tree, always make sure you leave enough behind for the rest of nature to enjoy.

Once you get the flowers home, give them a wee shake, then leave them to lie out for a couple of hours. Any insects will normally crawl away at this stage. Don’t worry about the stragglers, you’ll be sieving the flower heads from the first stage liquid and they’ll come along with them. I suppose you could also boast that your elderflower champagne has protein in it, always a bonus!
So, now I’ve helped you identify and find this flower, why don’t you take a peek below for my yummy Elderflower Champagne Recipe and give it a go. And don’t forget, if you don’t want to miss any of my posts, you know what to do…subscribe here!

Elderflower Champagne
Foragers FollyI’ve tried to keep this recipe as simple as possible but don’t let that fool you. The taste of this champagne is pretty amazing.3.82 from 16 votes Print Recipe Pin RecipePREP TIME14 d 1 hrCOOK TIME0 minsTOTAL TIME14 dCOURSEDrinksSERVINGS50
EQUIPMENT
- Bucket, Old Juice Bottles (sterilised), Syphon or Jug, Long Spoon or Stick, Steriliser
INGREDIENTS
- 20 large fresh elderflower heads
- 20 ltrs cold water
- 10 unwaxed Lemons
- 2 kg sugar
- 5 tbsp white wine vinegar
INSTRUCTIONS
- Warm up a ltr of the water and dissolve the sugar in it. Pour it and the rest of the water into a large, plastic or wooden container/bucket.
- Grate or peel the lemon skin and add the zest to the bucket along with the juice of the lemons and the white wine vinegar. Give the contents another good stir.
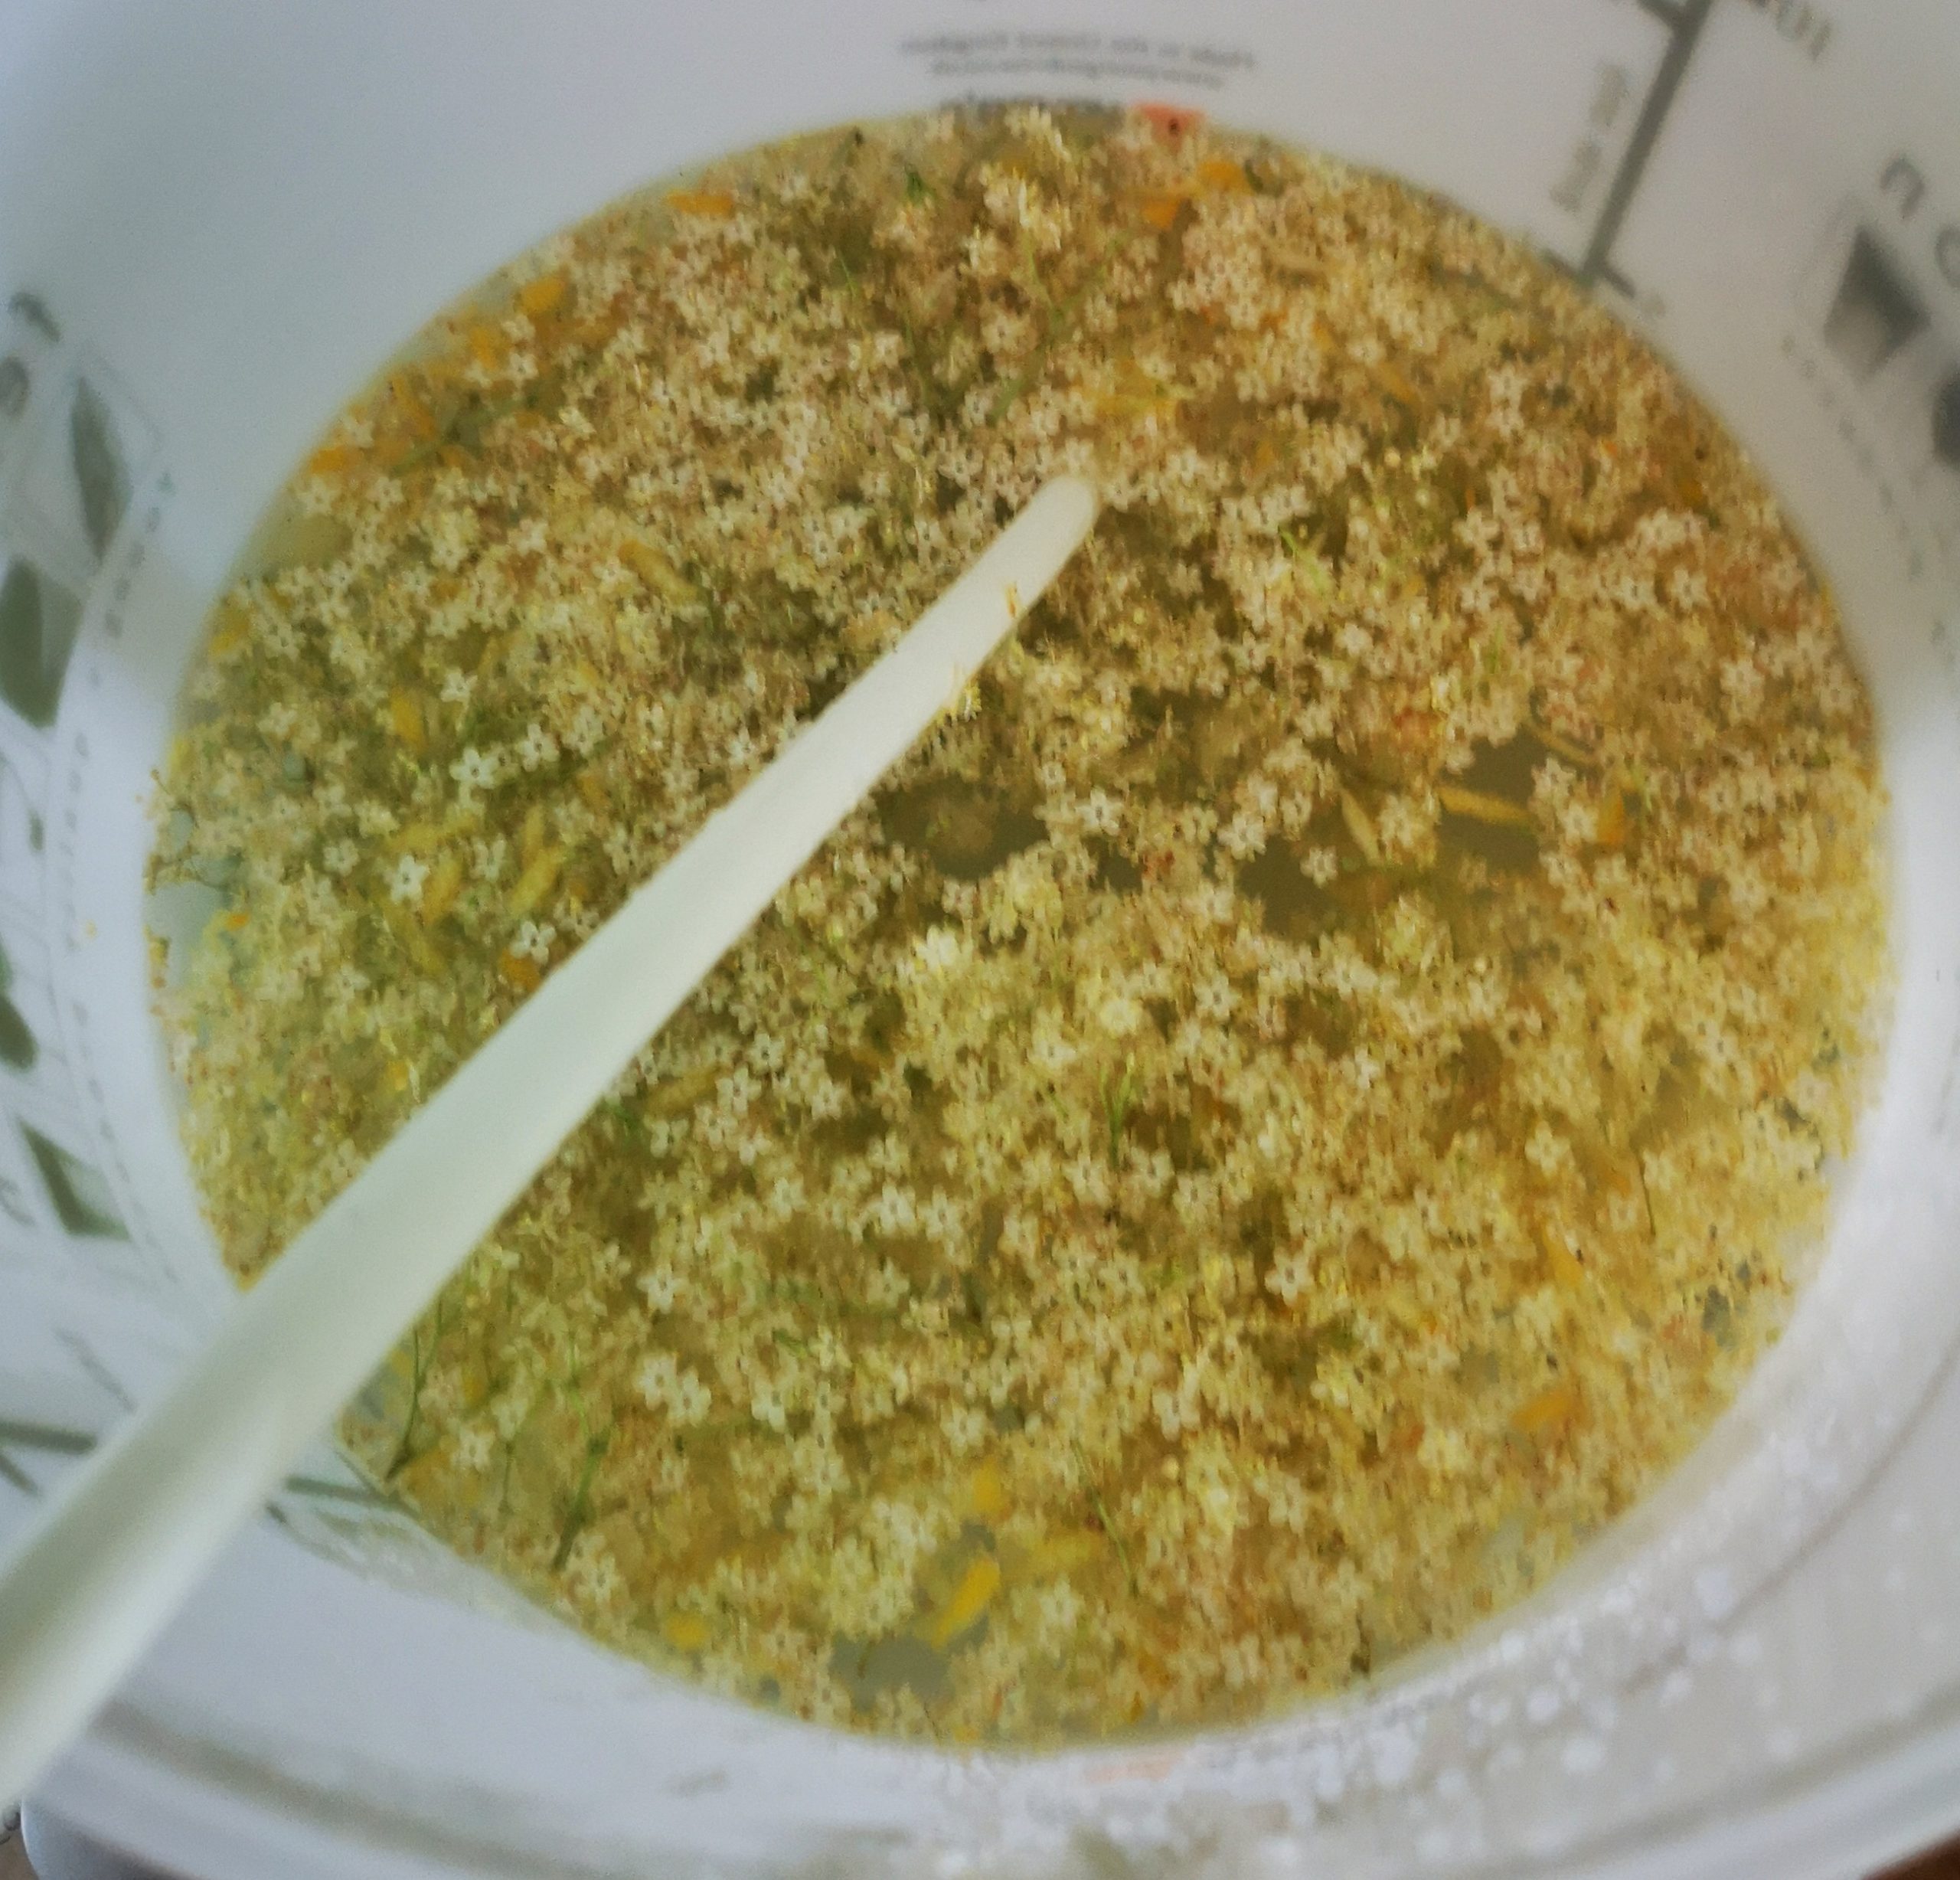
- Add the elderflower heads (which have their own yeast), making sure you put them in with their heads facing downwards and stems ‘poking’ out of the water. Alternatively, you could take a fork and use it to take the flowers off, leaving the stalks behind. If you can’t find large flower heads, then add another 5 -10 flower heads. Give the contents a gentle stir and cover with a clean tea towel. Leave in a warm, dark cupboard for 2 – 5 days, until fermentation has completed. After 2 days check you’re champagne, which, at this stage, should be showing a mold on the liquid, around the flower heads.
- Once fermentation is complete, gather another bucket, some air tight bottles, a sieve, jug and some muslin cloth. Make sure you sterilise the aforementioned equipment.Scoop out everything floating on top of the liquid in your container. Fold your muslin into four and place it over the sieve. (I use my husband’s old shirts!) and using the jug, sieve the liquid contents into the empty, sterilised bucket/container, leaving about 2 inches of liquid behind. (this allows for any sediment to be left behind) Leave for about an hour, to allow any further sediment to settle.
- Once you’ve completed the above step, it’s time to bottle the champagne. Using your jug, a funnel and muslin cloth, decant the contents of the bucket into the bottles. Remember to leave another couple of inches behind to allow for any sediment. Place your bottles in a dry, warm cupboard for approx 2 weeks, and hey presto…party time. And don’t forget my invite.